

Why File Preparation Matters
You've designed something brilliant. But if your file's a mess when it reaches the printer, that brilliance gets lost. We're talking blurry prints, color shifts, missing elements — all the things that make you wonder what went wrong.
The truth? Most print problems start before the printer ever sees your file. Incorrect color modes, low resolution, fonts that aren't embedded — these issues compound. A file that looks perfect on your screen might print completely different.
Here's the thing: printers don't have time to fix files. They work with what they get. So if you want professional results, you need professional files. It's not complicated once you know the rules.

Resolution and Image Quality
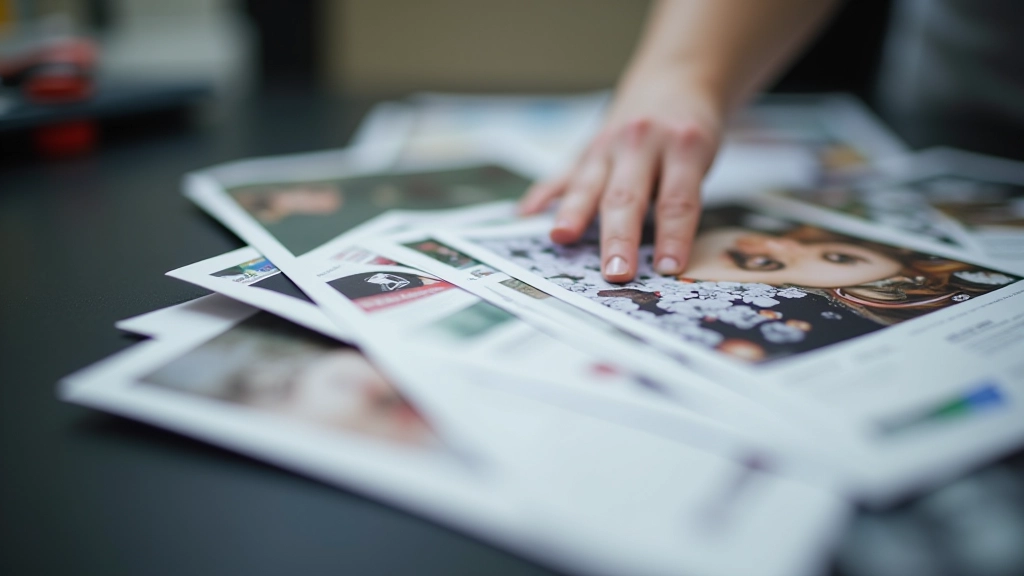
Resolution is non-negotiable. For print, you're looking at 300 DPI (dots per inch) minimum. Full stop. Web images at 72 DPI won't cut it — you'll get pixelated, blurry output that looks unprofessional.
But here's where it gets practical: if your image is 8 inches wide and you need 300 DPI, that means 2,400 pixels. A typical smartphone photo is around 3,000-4,000 pixels wide, so it'll work fine for most sizes. The problem comes when you try to blow up a small image to poster size — it just doesn't have enough data.
Check your files early. If you're working with images from the web, know they're too small. Source better quality images or ask your printer what size works for your intended output. Most print suppliers have minimum resolution requirements based on final dimensions.
Important Note
This article is educational information about print file preparation. Specific requirements vary by printer and project. Always check with your print supplier for their exact file specifications, color profiles, and submission guidelines before submitting your design.
Color Modes and Profiles
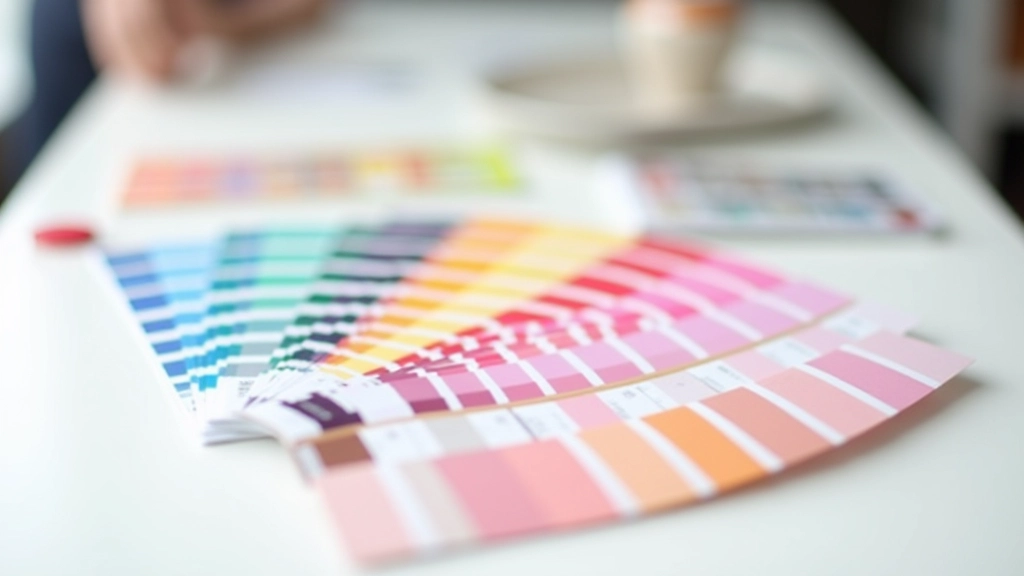
RGB looks vibrant on screens. But printers don't speak RGB — they speak CMYK. That's cyan, magenta, yellow, and black (K). When you send an RGB file to a CMYK printer, something gets lost in translation. Colors shift. Sometimes dramatically.
The fix is straightforward: convert to CMYK before you send anything. Your design software can do this in seconds. But don't just click "convert" and hope — preview the result. Some RGB colors simply don't exist in CMYK, so the software has to choose a substitute. That substitute might not be what you wanted.
Color profiles matter too. Ask your printer which profile they use. Most large format printers have specific profiles for different materials — glossy paper, matte, vinyl, fabric. Using the right profile means your file will print closer to what you designed.
Pantone colors? If you're using specific brand colors, convert them to CMYK equivalents. Your printer will appreciate knowing exactly what you're after, and you'll get consistency across print runs.
Bleeds, Margins, and Safe Zones
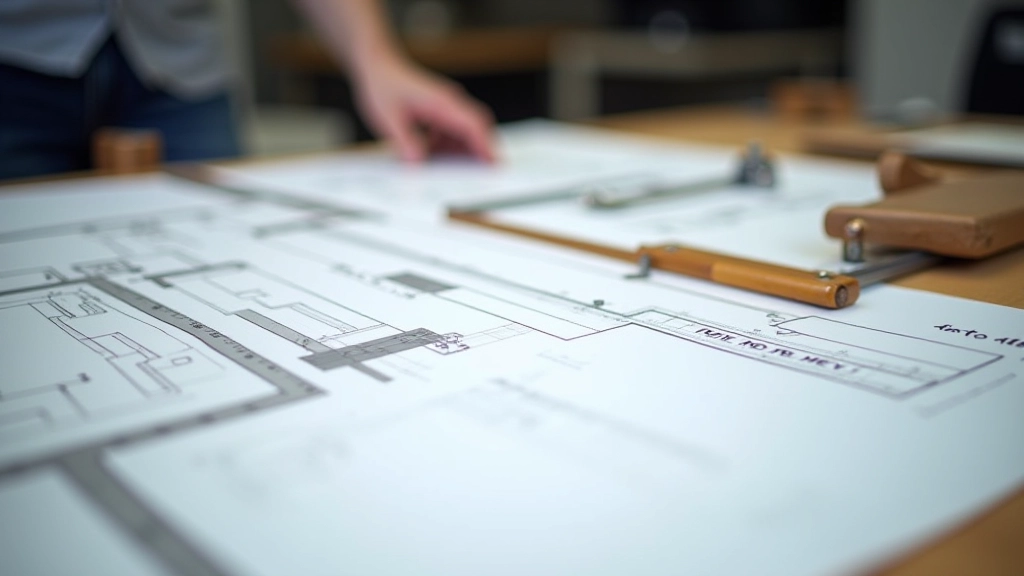
Bleeds are your safety net. They're the extra space beyond where your design will be cut. Why? Because cutting isn't perfectly precise. If your design has color all the way to the edge and there's no bleed, you'll get a tiny white line. Not ideal.
Standard bleed is 3-5mm beyond your final size. So if you're designing a 210×297mm A4 print, your file should be 216×303mm with the design extending into that extra space. This way, even if the cutter shifts slightly, you're still covered.
Safe zones are the opposite. That's the area where you keep important text and images — away from the edges. Generally, keep critical content at least 10mm from any edge. Text especially. Nothing worse than text that gets clipped during cutting.
Your printer should provide a template with bleeds and safe zones marked. Use it. Don't guess about measurements.
Fonts and File Formats
Fonts cause more headaches than almost anything else. You design with a beautiful custom font. You send the file. The printer opens it and sees a substitution font instead. Everything shifts. Kerning goes wrong. It's a mess.
The solution: embed your fonts or convert text to outlines. Embedding means the font data travels with your file — the printer sees exactly what you designed. Converting to outlines turns text into shapes, so no font substitution can happen. Both work. Choose whichever your software supports.
File format matters. PDF is the standard for print. It preserves your layout, colors, and fonts exactly. When you export to PDF, use "PDF/X-4" or similar print-ready profiles if available. This ensures everything is set up correctly for professional output.
Some printers accept native files (Illustrator, InDesign). But PDF is safer. It's the universal language of print. If your printer accepts PDFs, always send that. It eliminates version conflicts and software compatibility issues.

Your File Checklist
Resolution: 300 DPI minimum for print
Color mode: CMYK (not RGB)
Bleeds: 3-5mm beyond final trim size
Safe zones: 10mm from edges for important content
Fonts: Embedded or converted to outlines
Format: PDF/X-4 or print-ready export
Color profile: Matched to printer specifications
File naming: Clear and descriptive (e.g., "Poster_A3_FINAL_v2")
The Bottom Line
Getting your files right isn't about following arbitrary rules — it's about respecting the printing process. Print suppliers work with the files they receive. If you give them a clean, properly prepared file, they'll deliver excellent results. If you cut corners, you'll see it in the final print.
Don't wait until the last minute to check your files. Build in time to review, test with your printer, and make adjustments. Most print suppliers are happy to review files before you commit to a large order. Take advantage of that. A quick conversation can save you from costly mistakes.
Keep this checklist handy. Before every print project, run through it. It'll become second nature quickly, and you'll never have to deal with printing surprises again.